Trim audio in 4 steps:
- Open your audio file in Audacity (File → Open)
- Click and drag on the waveform to select the part you want to keep
- Press Ctrl T ⌘T — or go to Edit → Remove Special → Trim Audio
- Export via File → Export Audio… (MP3, WAV, FLAC, OGG)
What Is Trim Audio?
Trim Audio keeps only the selected portion of your recording and removes everything before and after it inside that clip. It's the opposite of Cut — instead of deleting the selection, Trim deletes everything outside it. Perfect for cropping song intros and outros, isolating a single take, or cleaning up dead air at the start of a podcast.
Trim is non-destructive at the clip level: the audio outside your selection becomes hidden, and you can drag the clip edges back out to recover it later. Labels inside the selection are preserved; other clips in the same track are untouched.
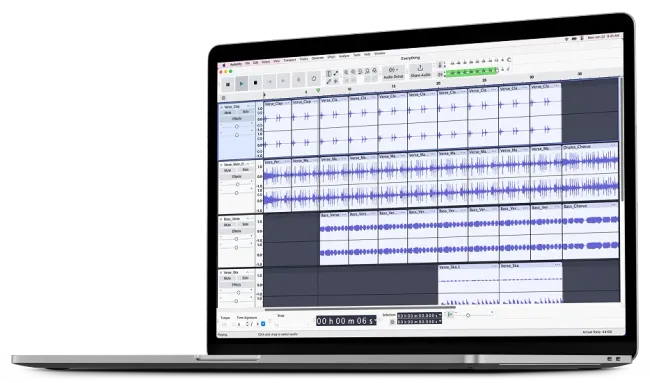
How to Trim Audio in Audacity
Step 1: Open Your Audio File
Launch Audacity and open your file via File → Open or drag and drop it onto the Audacity window. The audio loads as a waveform in the track area.
Step 2: Select the Part to Keep
Click and drag on the waveform to highlight the region you want to keep. For precise boundaries, type exact start and end times into the Selection Toolbar at the bottom of the window. Zoom in with Ctrl 1 ⌘1 for sample-level accuracy.
Step 3: Apply Trim Audio (Ctrl+T)
Press Ctrl T ⌘T , or go to Edit → Remove Special → Trim Audio. The command acts immediately with no dialog. Everything outside the selection is hidden from the clip.
Step 4: Export Your Trimmed File
Go to File → Export Audio… and choose your desired format (MP3, WAV, FLAC, OGG, or others). Audacity exports only the remaining visible audio, not the hidden portions outside the trim.
Trim Audio Settings and Options Explained
Selection Range
Trim Audio uses whatever you have selected in the waveform. Click and drag to highlight the keep-zone, or type exact start/end times in the Selection Toolbar at the bottom of the window for sample-accurate trimming.
Keyboard Shortcut (Ctrl+T / Cmd+T)
The fastest way to trim. Press Ctrl T ⌘T and the command acts immediately on the current selection — no dialog box, no confirmation.
Multi-Track Behavior
If your selection spans multiple tracks, Trim Audio crops every selected track to the same range at once. Unselected tracks are left alone. Useful for trimming a stereo pair or a full multitrack session to the same start/end.
Label and Clip Preservation
Trim Audio only affects audio inside the selection — labels in the label track are kept in place. Other separate clips in the same track are not removed or shifted. This is safer than Cut when working with a track that contains multiple clips.
Common Use Cases
- Crop song intros and outros — Keep only the part of the song you want
- Isolate a single take — Select the best take in a recording and drop everything else
- Trim podcast starts — Remove pre-roll chatter, coughs, and mic setup noise
- Prep audio for export — Shorten a long recording to a ringtone, voice memo, or clip
- Make ringtones — Cut a 30-second hook from a full song
- Extract interview quotes — Keep a single sound bite from a long recording
- Clean up voiceovers — Trim before the first word and after the last word
Trim vs Cut vs Delete vs Silence Audio
| Command | Shortcut | What Happens to Selection | What Happens Outside | Clipboard? |
|---|---|---|---|---|
| Trim Audio | Ctrl T ⌘T | Kept | Removed from clip | No |
| Cut | Ctrl X ⌘X | Removed | Kept, shifted left | Yes |
| Delete | Ctrl K ⌘K | Removed | Kept, shifted left | No |
| Silence Audio | Ctrl L ⌘L | Replaced with silence | Unchanged | No |
Tips for Best Results
- Zoom in ( Ctrl 1 ⌘1 ) before selecting for sample-accurate trim points
- Use the Selection Toolbar to type exact start/end times when you need precision
- If you trim too aggressively, press Ctrl Z ⌘Z to undo — or drag the clip edge back out to reveal the hidden audio
- Trim before applying effects so you process only the audio you actually need (faster render)
- For trimming silence from start and end automatically, try the Truncate Silence effect instead
- Save a copy of the project ( Ctrl S ⌘S ) before trimming a master recording
Frequently Asked Questions
What is the keyboard shortcut to trim audio in Audacity?
Ctrl T ⌘T on Windows, Linux, and macOS (shown for your OS above).
You can also find it under Edit → Remove Special → Trim Audio.
What's the difference between Trim and Cut in Audacity?
Trim keeps the selection and deletes everything outside it. Cut does the opposite
— it removes the selection and copies it to the clipboard so you can paste
it elsewhere.
Does Trim Audio delete the audio permanently?
No. The audio outside your selection is hidden, not destroyed. You can drag the
clip edges outward to recover it, or press Ctrl Z ⌘Z to undo
the trim.
How do I trim only the beginning and end of a file?
Select the middle portion you want to keep — from just after the intro to
just before the outro — and press Ctrl T ⌘T .
Everything before and after that selection is removed from the clip.
Can I trim multiple tracks at once?
Yes. If your selection spans multiple tracks, Trim Audio crops each selected track
to the same range. Tracks outside the selection are untouched.
Why does Trim Audio delete other clips in my track?
This happens when your selection overlaps or touches a clip boundary. Shrink the
selection so it sits fully inside a single clip, then trim again.
How do I trim audio to an exact length?
Use the Selection Toolbar at the bottom of the Audacity window. Type the exact
start and end time (or start time + length) in the fields, then press Ctrl T ⌘T .
How do I export the trimmed audio as MP3 or WAV?
After trimming, go to File → Export Audio… and choose
MP3, WAV, FLAC, OGG, or another format. Audacity exports only the remaining audio,
not the hidden portion.
Download Audacity Free
Ready to trim your audio? Download Audacity for free on Windows, macOS, or Linux.