First steps
Apply your first effect
Two ways to apply an effect — rewrite the audio from the Effect menu, or add a realtime effect you can change at any point.
Before you apply anything, it helps to know that Audacity can apply an effect in two different ways, and the difference matters once you want to change your mind.
Two ways to apply an effect
| How it works | |
|---|---|
| Destructive | Applied from the Effect menu to a selection. Audacity rewrites the audio itself, and you can see the waveform change. Undo will step back out of it while the project is open, but once you close the project the change is part of your audio for good. |
| Non-destructive | Added as a realtime effect on a track, or drawn as clip gain. Your recording is left alone and the effect is calculated on playback, so you can adjust it, switch it off, or remove it at any point, even weeks later. A realtime effect always applies to the whole track — for a shorter stretch, split it into its own clip and track, or use a destructive effect on a selection. |
Destructive effects
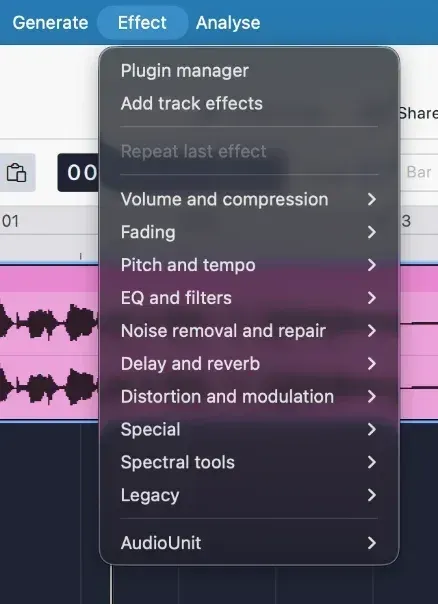
Every destructive effect lives in the Effect menu, grouped by what it does. Select the audio first, then pick an effect: it acts on the selection only, and the waveform redraws when it finishes.
Realtime effects
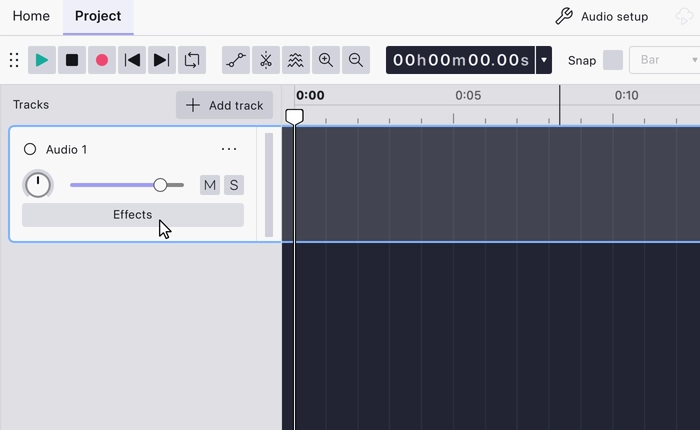
The Effects button on the track header opens the realtime effects panel.
The keyboard shortcut is
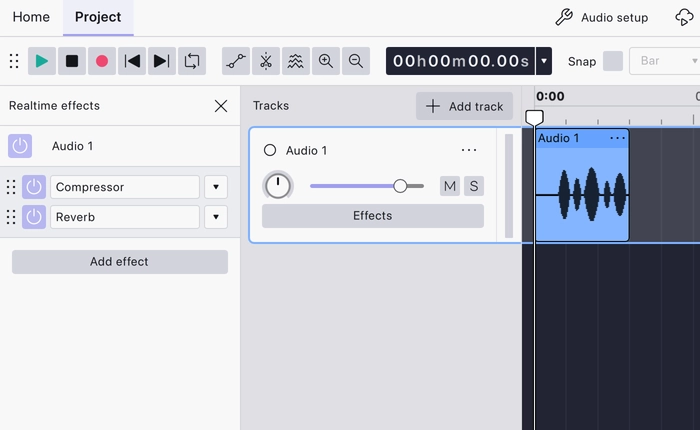
The panel opens on the left, showing the focused track’s effects: focus a different track and the panel follows. Click Add effect to pick from the list, and effects run in the order they are stacked, top to bottom.
When you add an effect it joins the stack and its own window opens, ready to adjust.
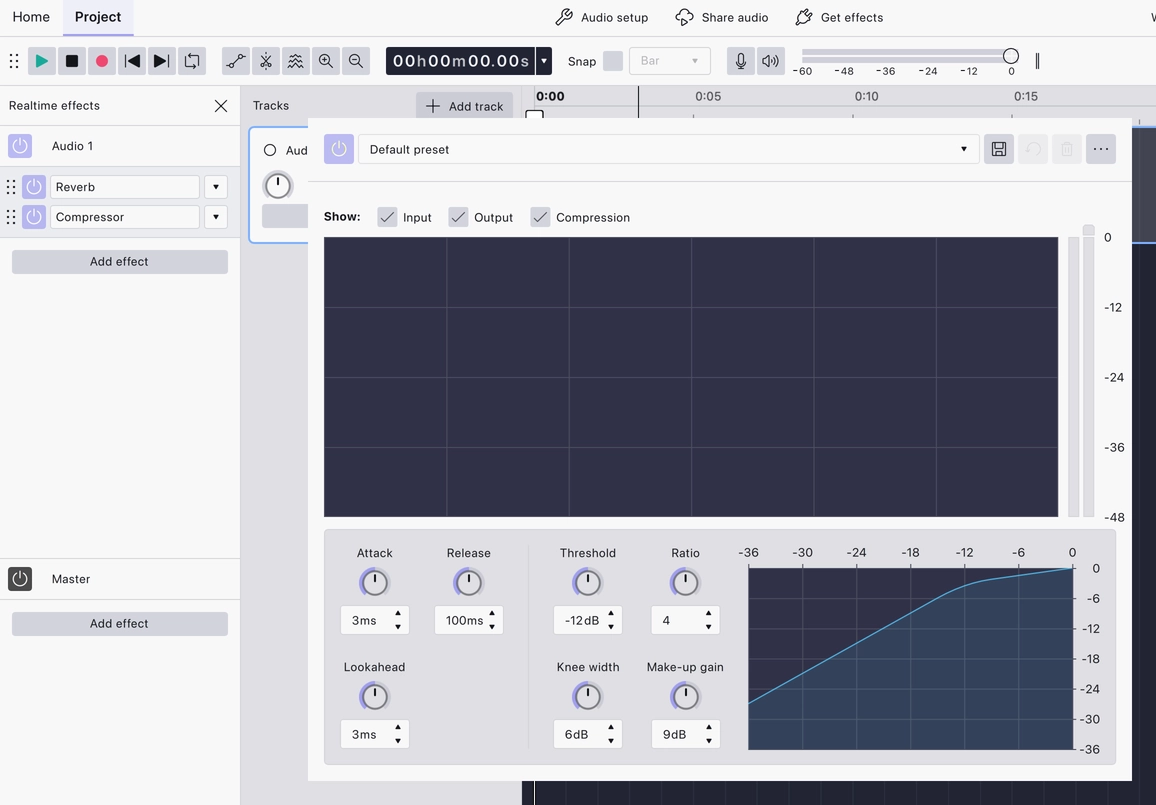
Each effect in the stack is managed from the panel:
- Change its settings by clicking the effect’s name to reopen its window. Effect windows often have their own look, nothing like Audacity: that is normal, and the main window stays usable while one is open.
- Bypass an effect with the power button beside it, or the whole stack with the power button at the top. This is the quickest way to hear before-and-after.
- Remove an effect for good with the triangle beside its name, choosing No effect.
Master effects
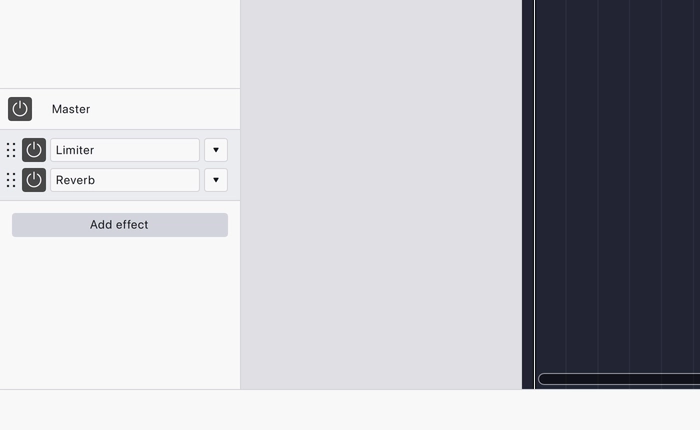
At the bottom of the same panel is a Master effects section. Effects here apply to the finished mix, after every track, each track’s own effects, and the volume and pan controls have been combined, rather than to any one track. This stage of shaping the combined sound is what “mastering” means.
Getting more effects
Audacity ships with a starter set, and takes plugins in the VST3, VST, LV2, LADSPA and (on macOS) Audio Units formats. MuseHub carries a curated collection, and more are gathered at plugins.audacityteam.org. Installed plugins appear after you restart Audacity.
When the sound is where you want it, it is time to save your project.
Last updated