First steps
Install Audacity
Download Audacity for Windows, macOS or Linux and run the installer.
Before you start
Installation takes about five minutes, most of which is the download. You need around 500 MB of free disk space and an account with permission to install software on the machine. If you’re on a managed work computer you may need whoever administers it to approve the install.
Download the installer
It downloads the build for your platform. Every build for every operating system is on the download page if you need a different one.
Download the .exe installer. Both 64-bit and 32-bit builds are listed.
Choose 64-bit unless you know the machine is 32-bit.
Once it’s downloaded, double-click the file and follow the prompts. You can accept every default; the installer will suggest a location and create a Start menu entry.
Download the .dmg disk image, then open it and drag the Audacity icon into
your Applications folder.
The first time you open it, macOS may warn that the application was downloaded from the internet. Choose Open to confirm.
Audacity is available as an AppImage, and through most distribution package managers.
The AppImage needs no installation: make it executable and run it. Package manager versions may lag behind the current release.
Open Audacity for the first time
The first time Audacity opens, it validates the audio plugins installed on your system, then runs a five-page setup. Every choice in the setup can be changed later from Preferences or the toolbar.
Validating audio plugins
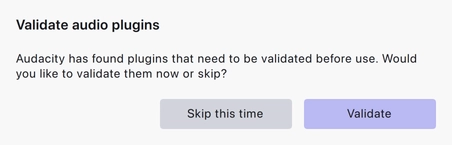
Audio plugins must be validated before they can be used. Validate runs the check now. Skip this time defers it: Audacity starts without the unvalidated plugins and asks again on the next launch.
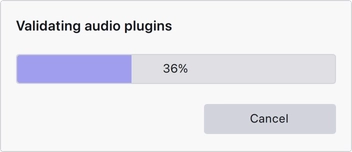
Choosing Validate shows a progress dialog while each plugin is checked. It closes on its own when the scan finishes. Later launches only validate plugins that are new or have changed.
Select a theme
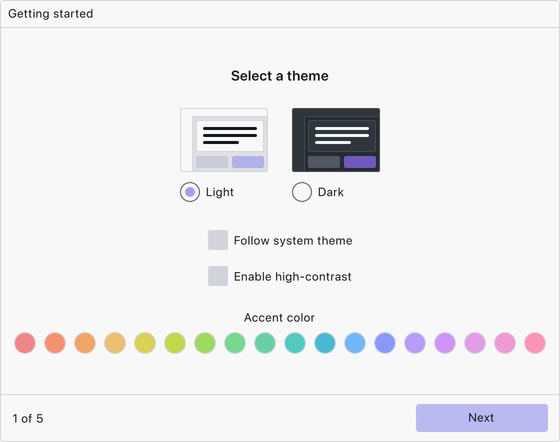
Choose between the light and dark theme. Follow system theme matches Audacity to your operating system’s setting, and Enable high-contrast increases contrast throughout the interface. The swatches below set the accent colour Audacity uses for selections and highlights.
Choose how clips look
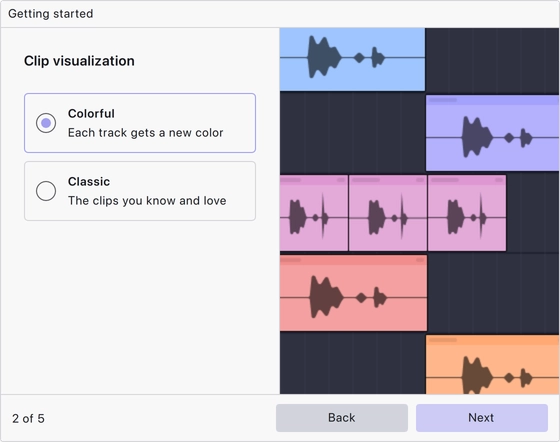
Colorful assigns each track its own colour. Classic uses the single clip style from Audacity 3.
Choose a workspace
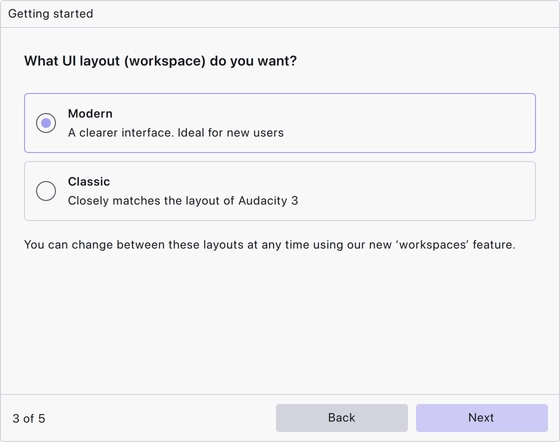
A workspace is a toolbar layout. Modern is the default; Classic matches the layout of Audacity 3. You can switch at any time from the workspace dropdown in the toolbar.
Sign in to audio.com
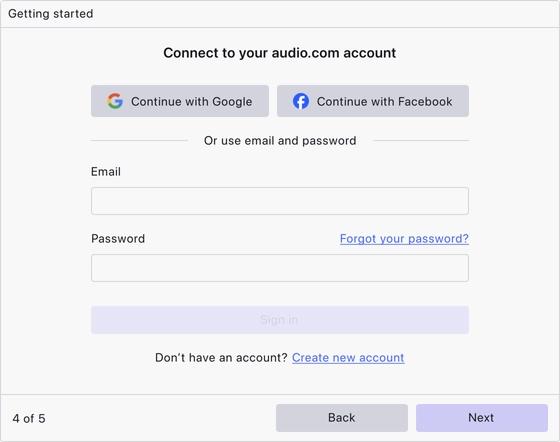
An audio.com account enables saving projects to the cloud and sharing audio from the app. This step is optional: press Next to skip it.
Updates and privacy
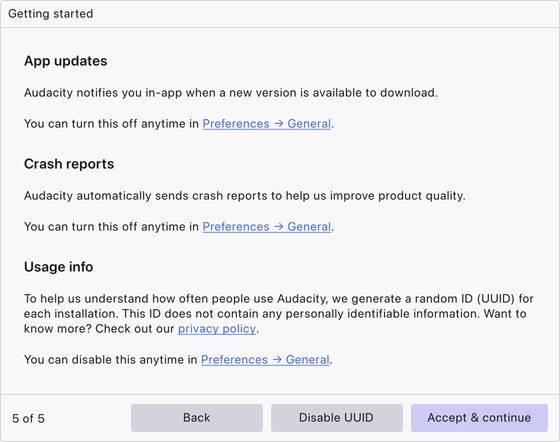
This page covers three settings: update notifications, automatic crash reports, and a random installation ID used to count installations. The ID contains no personal information. Choose Disable UUID if you don’t want one. All three settings can be changed later under Preferences → General. The privacy notice describes what each one sends.
Your first project
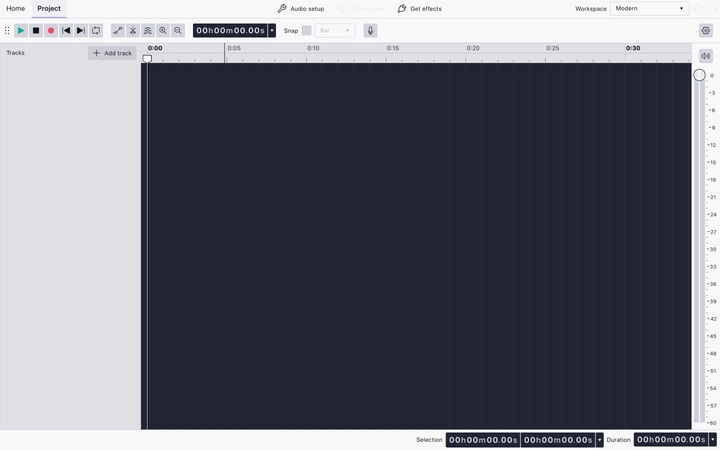
After the last setup page, Audacity opens an empty project. The installation is complete. The next step is to connect your microphone.
Last updated