First steps
Make your first recording
Press record, watch the level, stop, and listen back to check the take.
Create a track
When you record, the audio is stored in a clip. Clips live on tracks, the horizontal lanes that run along the timeline. Add track, at the top of the track area, is where you add one of the track types.
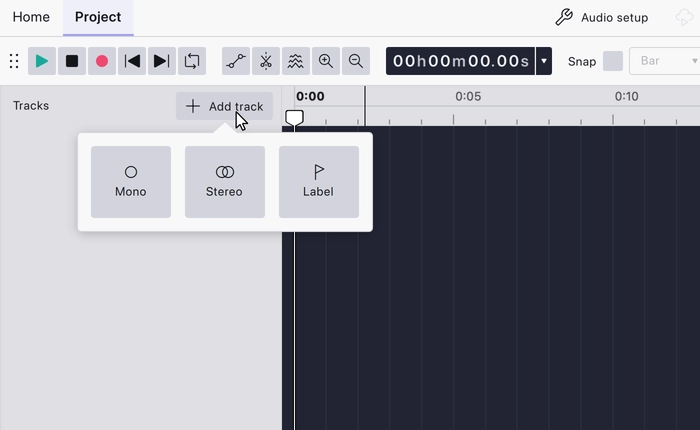
- Mono holds one channel of audio. One microphone produces one channel, so a voice wants a mono track.
- Stereo holds two channels. Use it for music and for sources that are already stereo.
- Label holds text markers rather than audio.
Pick Mono and the track appears: its name and controls in the header on the left, and an empty lane stretching along the timeline. This is where your recording will appear.
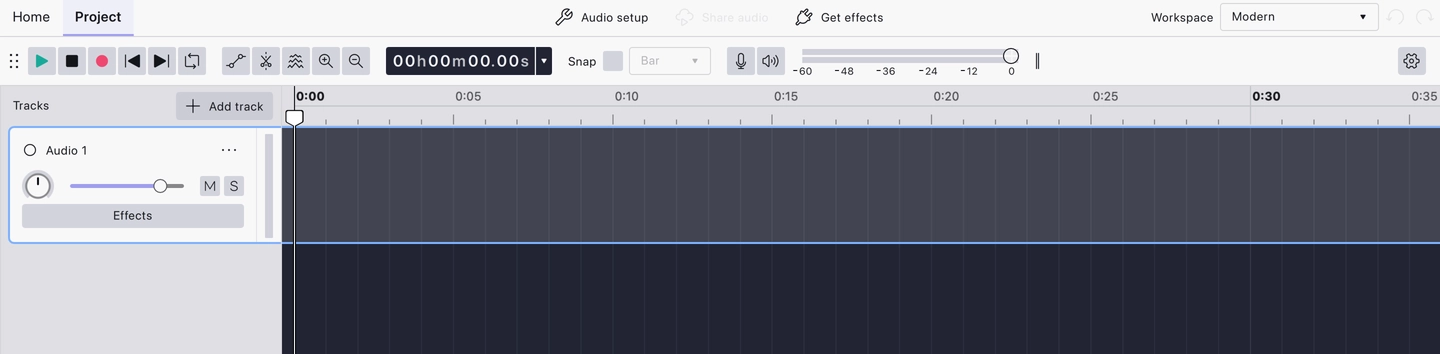
When you speak, the focused track shows your input on the meter in its header.
Before you record
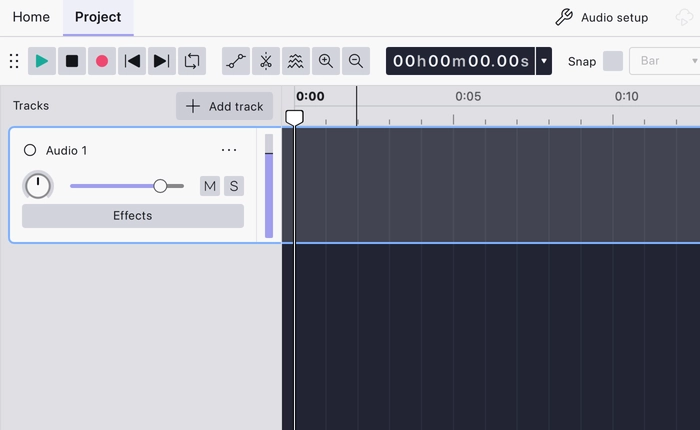
- Select the track. Recording goes onto the selected track: click a track’s header and it highlights. If you skip this step entirely, pressing Record creates a track for you.
- Check your level. Your normal speech should peak between −18 dB and −6 dB on the meter. Setting the level, and hearing yourself while you record, are covered in Connect your microphone.
- Get closer. A hand-span from the microphone gives you far more voice and far less room than sitting back from it.
- Speak across it, not into it. Angling the microphone slightly off your mouth stops P and B sounds thumping.
- Silence the room. Fans, fridges, air conditioning and anything humming on the desk all end up in the recording.
- Soften the space. Curtains, a bed, a rug, and clothes on rails absorb the reflections that make a recording sound like a bathroom. Avoiding reflections is much easier than removing them later.
Recording
The round red Record button sits in the transport controls, at the left of the top bar.
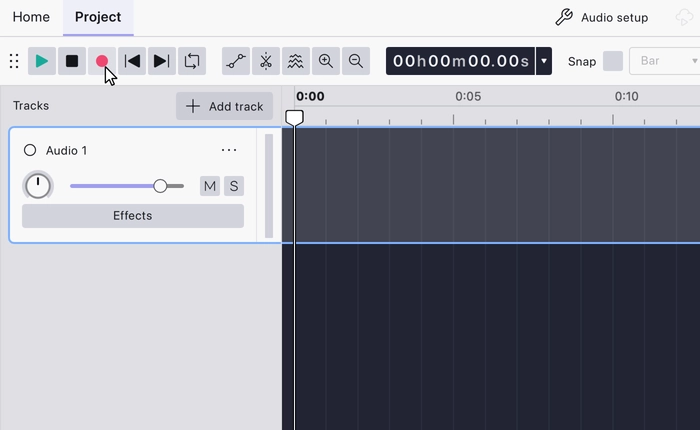
Press Record, or
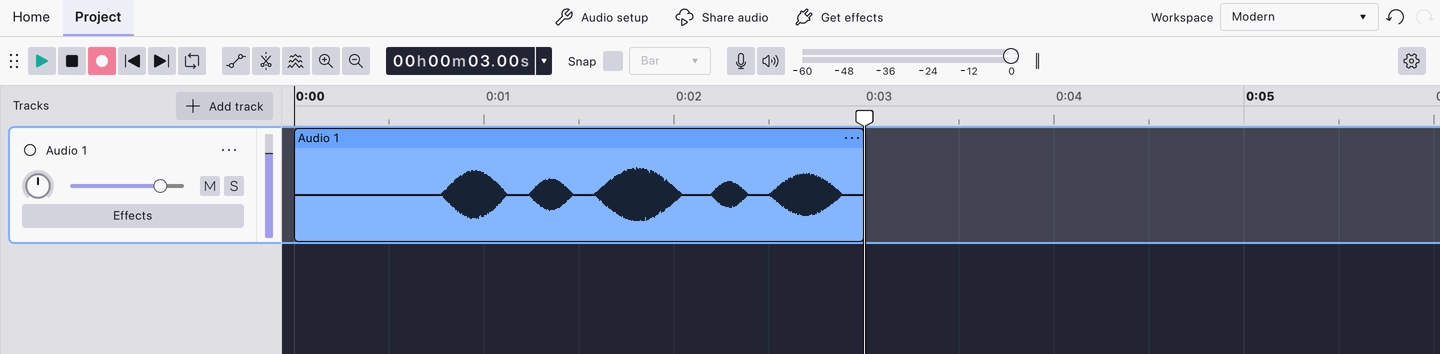
While recording:
- Pause holds the recording without ending it. Press it again to continue in the same clip.
- Stop, or
SPACE , ends the take.SPACE then plays it back from the playhead.
Your first take
- Record a few seconds of silence at the start of every session. It gives you room to trim, and a sample of your room’s own sound for noise reduction later.
- Say your piece, then stop and play it back.
- If you make a mistake, pause your speech, leave a moment of silence, and say the line again. Cutting the mistake out later is quicker than starting over.
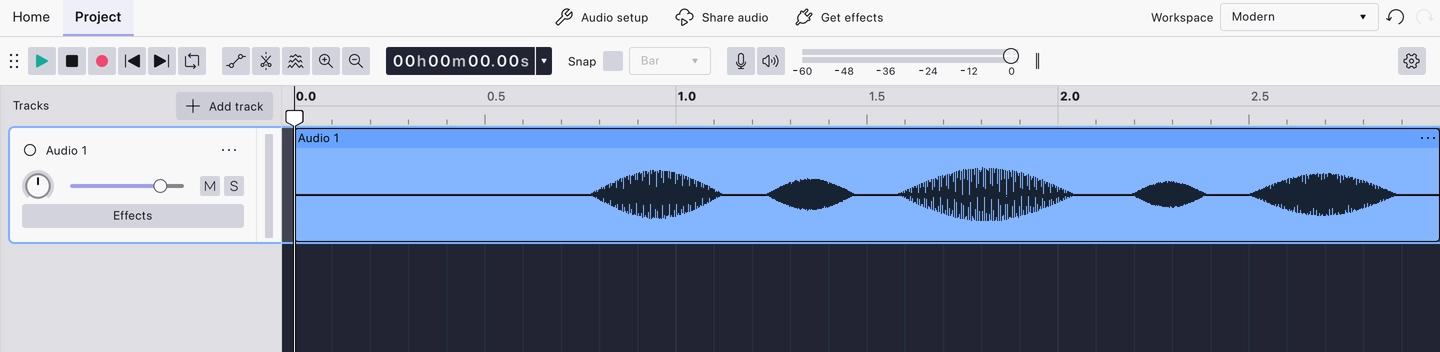
Reading the waveform
Look at the waveform as well as listening to it. The shape shows problems that are hard to hear, especially on laptop speakers.
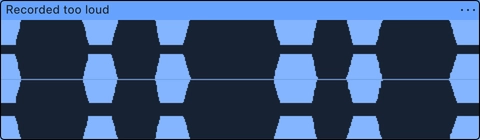
- A solid block filling the height of the track means it was recorded too loud, and the peaks are clipped. Clipping is distortion, and it cannot be repaired afterwards: lower the record level and take it again. View → Show clipping in waveform marks the clipped samples in red on the waveform.
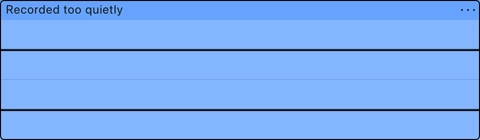
- A nearly flat line means it was too quiet. Raise the level or move closer and take it again. A take you cannot repeat can be lifted with the Amplify effect, though that raises the room noise along with the voice.
- Clear movement with the peaks well short of the top is a healthy take.

Last updated