First steps
Connect your microphone
Pick the right input and output, set a healthy level, and hear yourself safely.
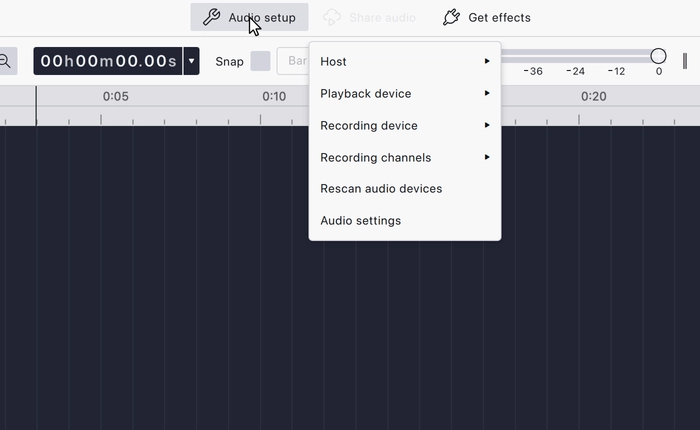
The input is what Audacity listens to: your microphone. The output is what it plays through: your headphones. Both are set in Audio setup, in the middle of the top bar. By default, Audacity uses the system’s default microphone and speaker. Check both before you record.
What you need
- A microphone. USB straight into the computer, or an XLR microphone through an audio interface.
- Headphones. More important than the microphone: they stop playback bleeding back into the recording.
- A quiet room. Soft furnishings, curtains and carpet reduce room echo. Turn off fans and close windows.
Plug it in
How your microphone connects depends on what it is:
- A USB microphone goes straight into a USB port.
- A microphone with a 3.5 mm jack goes into the microphone input, not the headphone output. Many laptops have a single combined socket for a headset, and a microphone-only plug may need an adapter to work in it.
- An XLR microphone goes into an audio interface, and the interface into a USB port. An XLR microphone cannot connect to a computer on its own.
Choose your devices
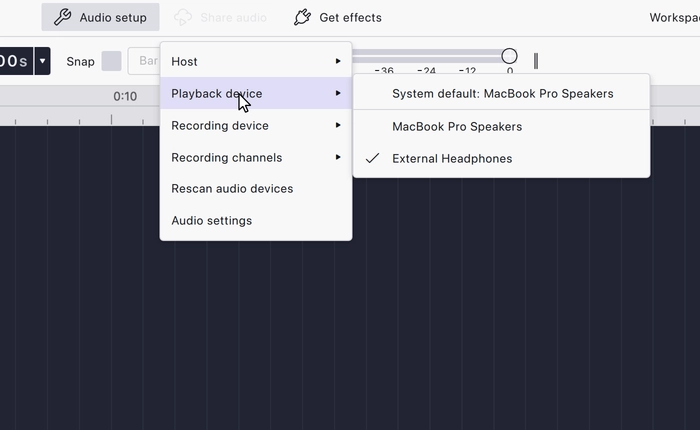
Pick your headphones under Playback device. If you hear nothing on playback later, this is the first thing to check.
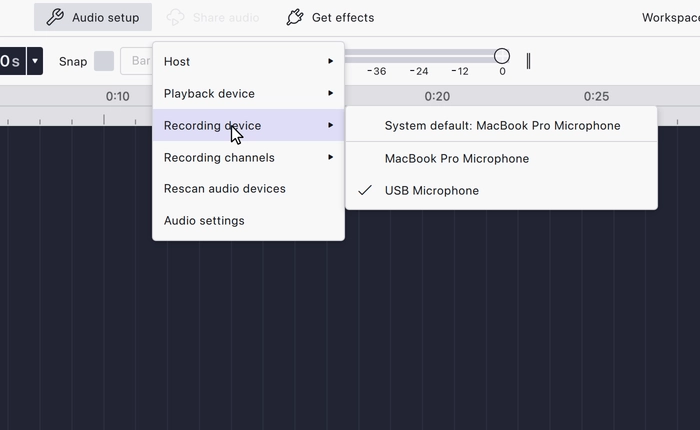
Pick your microphone under Recording device, by the name of the microphone or interface.
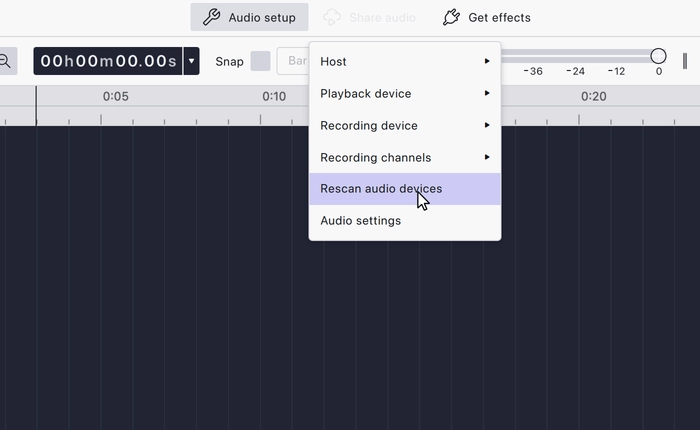
If your device is not listed, it was probably plugged in after Audacity launched. Rescan audio devices, at the bottom of the Audio setup menu, picks it up without restarting the application.
Set your microphone level
The microphone button in the toolbar opens the Microphone level flyout. The meter follows your microphone as soon as the flyout is open: Show mic metering when not recording is on by default, so nothing needs recording to check your input.
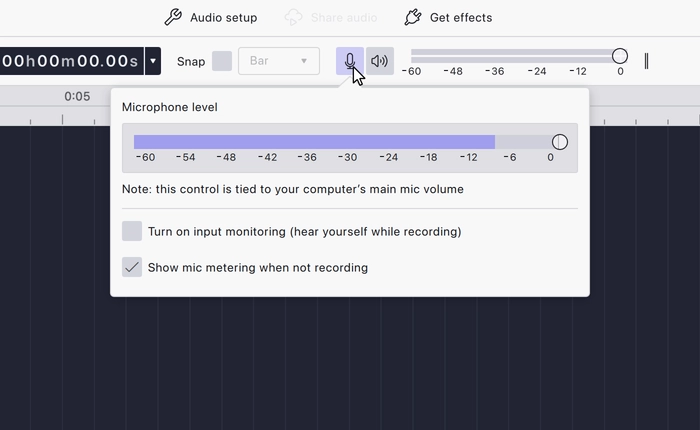
- Speak at the volume you will actually use, and watch the meter.
- Adjust the level so your normal speech peaks between −18 dB and −6 dB. Leave headroom: audio that touches 0 dB is clipped, and clipping cannot be repaired afterwards.
If the meter barely moves while you speak normally, the level is too low. Raise it here, or move closer to the microphone. A quiet recording can be raised afterwards with the Amplify effect, but that raises the room noise with it. Set the level correctly before recording.
Hearing yourself
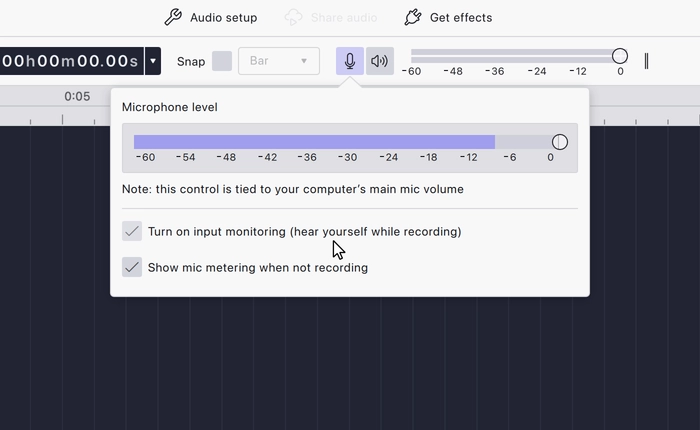
If you are wearing headphones, you can also switch on Turn on input monitoring in the Microphone level flyout. It plays your microphone back through your output, so you hear yourself as you speak.
Mono or stereo?
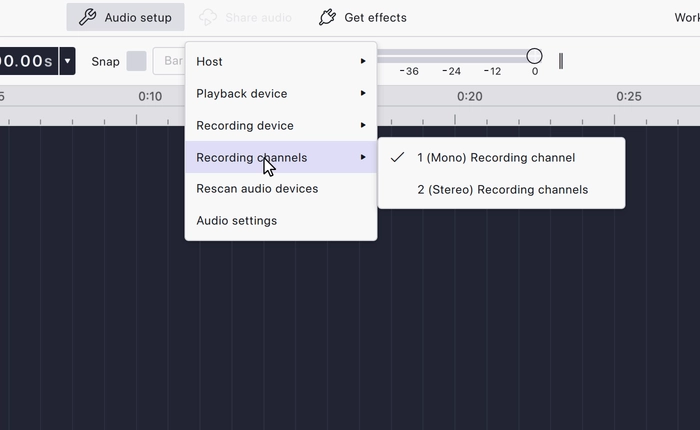
One microphone produces one channel, so record a voice in mono. Recording it in stereo produces two identical copies and a file twice the size. If an interface has two inputs, give each microphone its own mono track instead of sharing one stereo track. Use stereo for music and for files that are already stereo.
Set the channel count under Recording channels in Audio setup.
Last updated