Clips
Clips
The blocks of audio that live on tracks, and everything editing does to them.
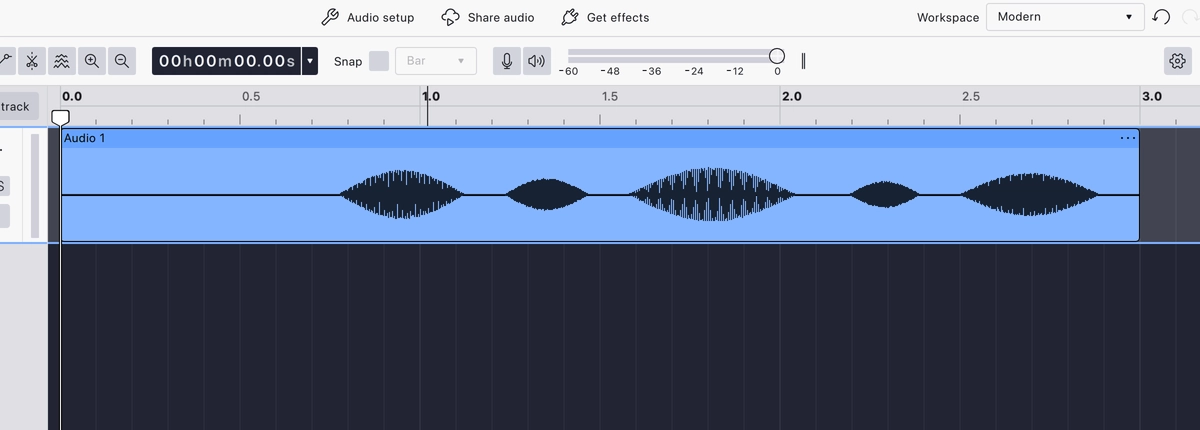
A clip is a block of audio on a track. Recording creates one, importing a file creates one, and nearly every edit acts on one. A clip has a header along the top carrying its name, and a body showing the audio as a waveform: the taller the shape, the louder that moment.
The clip menu
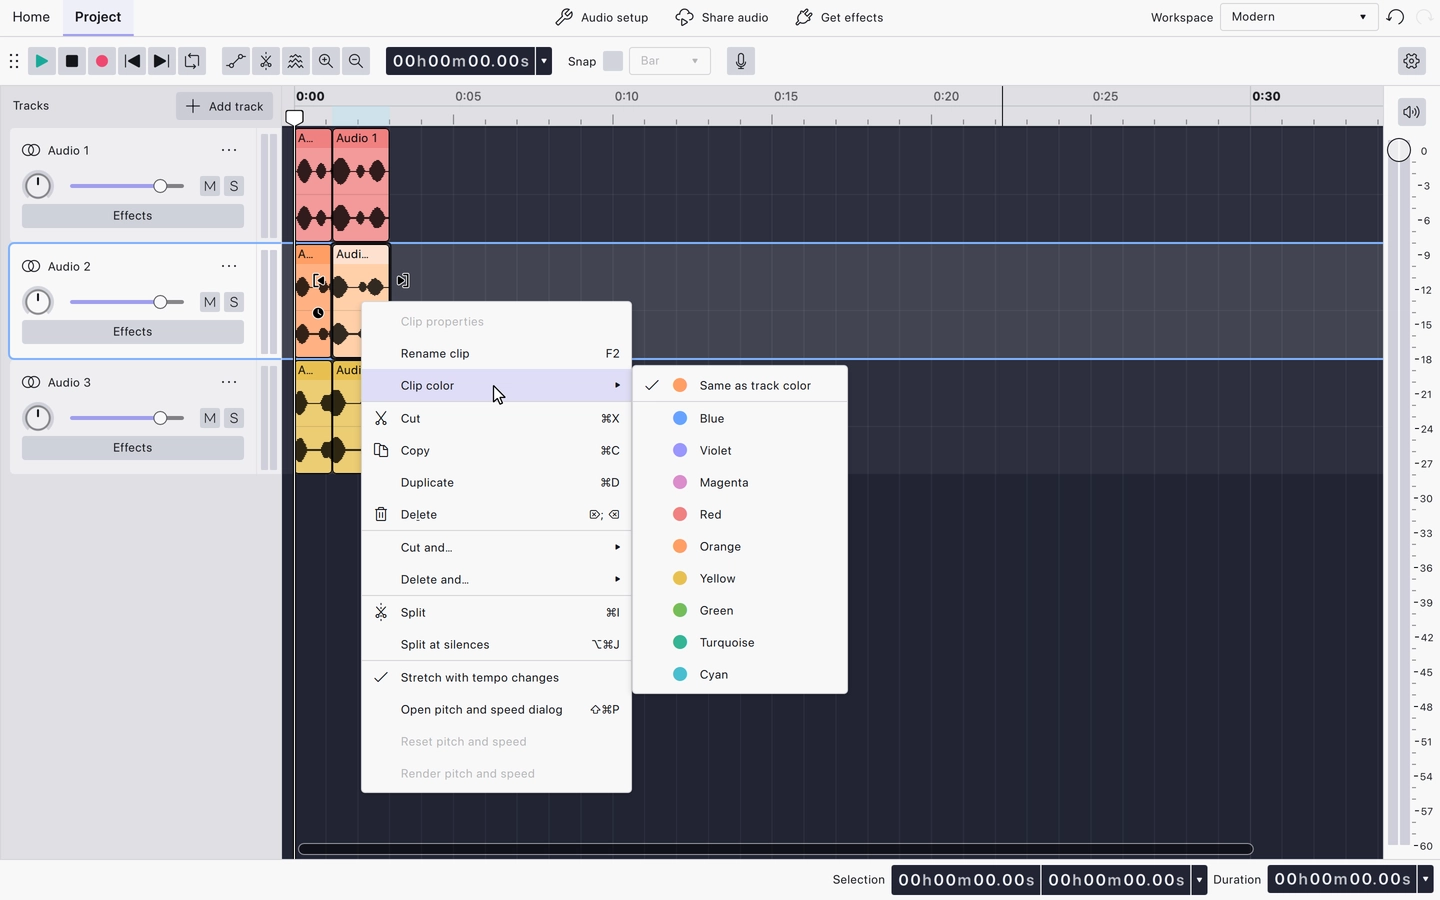
The ⋯ button at the right of the header opens the clip menu, which is also available by right-clicking the clip. It holds the clip’s own commands:
- Rename clip and Clip color, which can follow the track’s colour or be set to one of its own.
- The clipboard and editing commands: Cut, Copy, Duplicate, Delete, and their variants.
- Split, and Split at silences, which cuts the clip wherever it finds silence.
- Stretch with tempo changes, and the pitch and speed dialog with its reset and render commands.
Handles
Selecting a clip reveals two pairs of handles at its edges. The top pair trim; the lower pair, marked with a clock, change the clip’s speed. Both are covered in Trim and stretch.
Clips are non-destructive
Trimming hides audio rather than deleting it: the trimmed part is kept past the clip’s edge, and dragging the edge back out restores it. A clip whose speed has been changed shows a badge in its top corner with the current percentage.
Display
A clip’s body follows the track’s view: a waveform normally, or a spectrogram when the track is in spectral view.
Working with clips
- Selecting and moving: picking clips and time ranges, and dragging clips between tracks.
- Trim and stretch: the two pairs of handles, and what each does.
- Split: cutting one clip into two.
- Clip gain: the volume curve drawn on the clip itself.
- Grouping: grouped clips select, move and edit as one.
For a guided walk through the same ground, see Basic audio editing.
- Selecting and moving Picking clips and time ranges, and dragging clips between tracks.
- Trim and stretch The two pairs of handles on a selected clip, and what each does.
- Split Cutting one clip into two, with the split tool or the keyboard.
- Clip gain The volume curve drawn along the clip itself.
- Grouping Grouped clips select, move and edit as one.
Last updated