Toolbars
Project toolbar
The bar across the very top of the window: the Home and Project tabs, the hotbar, the workspace selector, and undo and redo.
The Project toolbar runs across the very top of the window. Nothing on it touches your audio directly — it is where you move between views, reach the audio and sharing dialogs, and shape the workspace itself.

Home and Project tabs
The tabs at the left switch the whole window between the Home screen, which holds your projects, recent files and cloud library, and the Project view where editing happens.
The hotbar
The group of quick-access buttons in the centre. Each one opens a menu or a dialog.

Audio setup
Opens a menu for picking the audio hardware Audacity uses. Every list in it is built from the devices your computer reports, so what you see depends on what is connected.
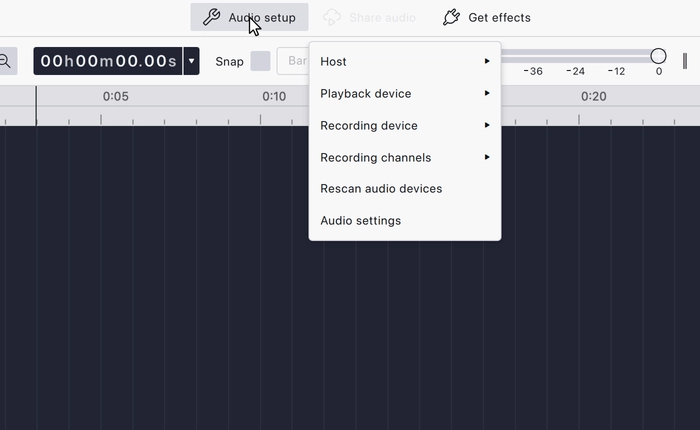
What the menu contains
- Host — the audio system Audacity talks to. Which hosts are offered depends on your operating system.
- Playback device — where audio plays. The list opens with a System default entry, which names the device it currently resolves to, followed by each available output.
- Recording device — the same, for inputs.
- Recording channels — 1 (Mono) Recording channel or 2 (Stereo) Recording channels, up to the number your recording device offers.
- Rescan audio devices — rebuild the device lists. Use it after plugging in or unplugging an interface.
- Audio settings — opens Preferences at the Audio settings page.
Notes
- The device and host currently in use are ticked.
- The menu rebuilds itself whenever the device list or the audio configuration changes, so it stays in step with the hardware.
Related
Share audio
Renders the project to an audio file and uploads it to audio.com, so you can send someone a link instead of a file. Your project itself is not changed and nothing is written to your computer.
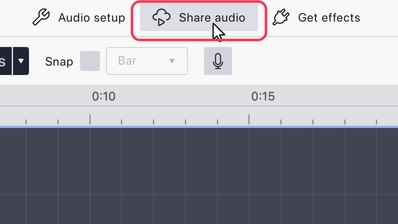
How it works
- Audacity asks for a Track title for the upload.
- It exports the project in the format audio.com prefers and uploads it. Progress is shown in a notification while this happens.
- When the upload finishes, the notification offers View on audio.com, which opens the shared audio in your web browser.
Notes
- Greyed out until the project contains some audio, and unavailable while recording.
- Only present in builds where cloud support is enabled.
- Uploading needs an internet connection.
Related
Get effects
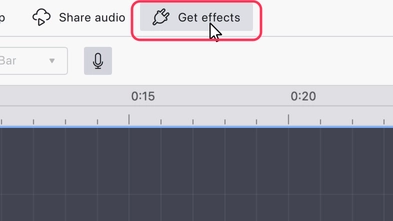
Opens the Get effects dialog, a catalogue of effect plugins published on MuseHub. It is a browsing window only — nothing is installed from inside Audacity.
What the dialog contains
- A list of categories down the left-hand side. The categories come from MuseHub, so the list changes as the catalogue does.
- A grid of cards on the right, one per effect, each with its name and a short description.
- Get it on MuseHub on each card, which opens that effect’s page in your web browser. Downloading and installing happen there.
- Done, which closes the dialog.
Notes
- The catalogue is fetched over the internet. If Audacity cannot reach MuseHub it shows a Connection error message with a Try again button instead of the grid.
- Installed plugins are managed elsewhere — see Plugin manager and the Plugins preferences page.
Related
Workspace selector
The dropdown on the right switches between the workspaces — Classic, Modern, Music and Spectral editing — changing which tools the Tools toolbar shows.
Undo and redo
The two arrows at the far right step backwards and forwards through your edits — the same Undo and Redo as the Edit menu, kept in reach.
Share audio only appears in builds where cloud support is enabled.
Where to find it
Along the top of the project window, between the Home and Project tabs on the left and the workspace selector and Undo/Redo on the right. When the window is too narrow for the labels, the buttons drop to icons only.
The buttons need a project to be open.
Related
Last updated